Boat Lift Motor Replacement: Signs It's Time for a Swap
If your boat lift has stopped working, your first instinct might be to call a repair shop and brace yourself for a hefty bill. But here is the thing - replacing a boat lift motor is one of those repairs that a handy homeowner can actually tackle without professional help.
This guide walks you through the whole process in plain language. No trade secrets, no confusing technical jargon - just honest, practical advice from people who have spent decades working around waterfront equipment in Collier County, Florida.
What Does a Boat Lift Motor Actually Do?
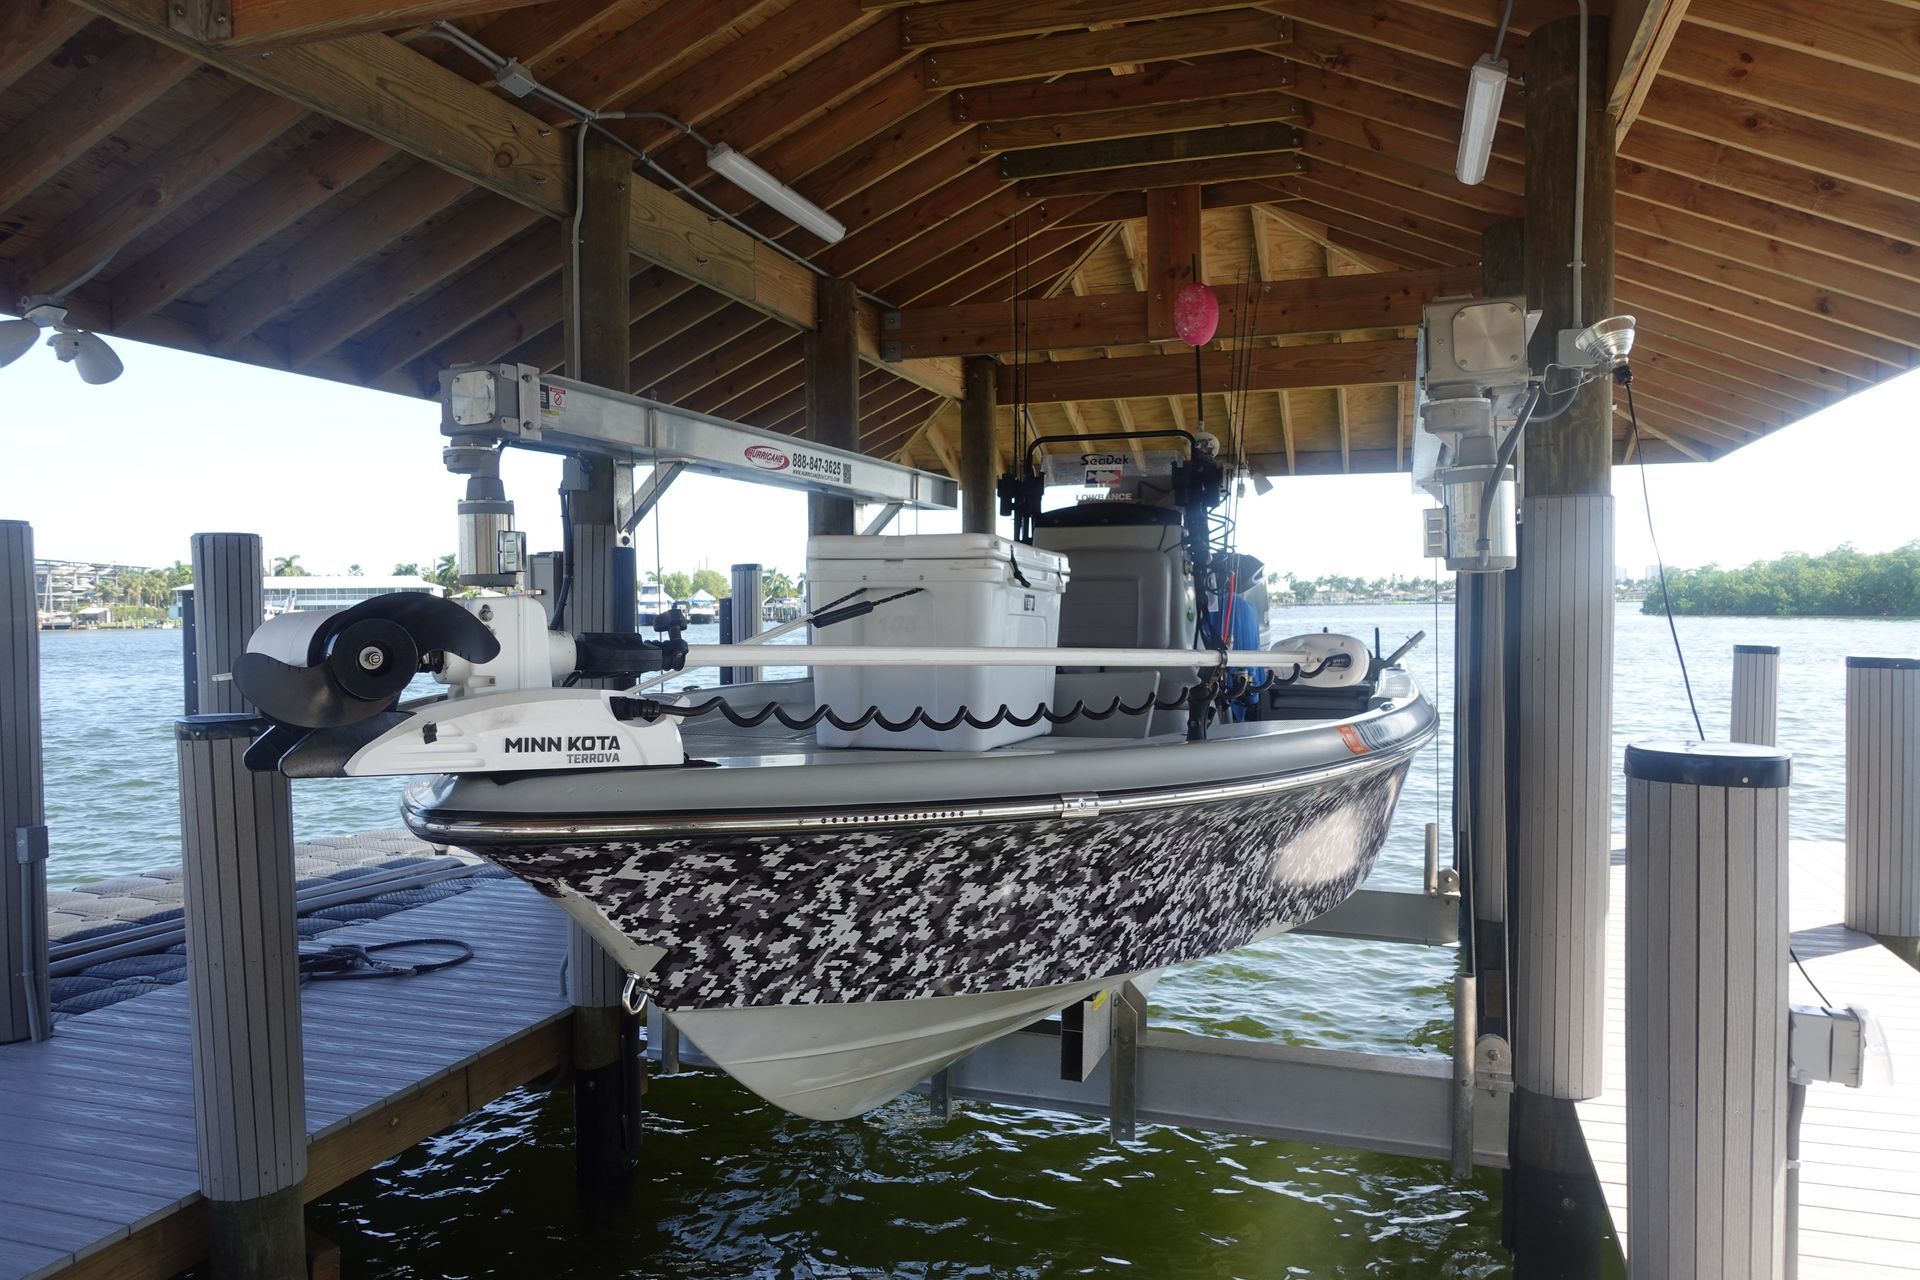
Your boat lift motor is the mechanical heart of the entire system. It drives the gearbox, which turns the cable drum, which raises and lowers your boat into and out of the water.
When the motor fails, everything stops. And in Southwest Florida's saltwater environment - where humidity, salt air, and heat put constant pressure on electrical and mechanical components - motor failure is not unusual. It is actually one of the most common boat lift issues waterfront homeowners face.
How Do You Know It Is the Motor and Not Something Else?
Before you order a replacement motor, make sure the motor is actually the problem. A lot of boat lift issues get misdiagnosed, and you do not want to spend money on a part you do not need.
Here are signs that point specifically to motor failure:
- The lift makes a humming sound but does not move (motor is trying to run but cannot turn)
- The motor runs hot to the touch or smells like burning
- The motor does not respond at all even when power is confirmed at the switch
- Visible rust, corrosion, or water intrusion inside the motor housing
If the lift runs but moves slowly or unevenly, the problem might be in the gearbox or cables instead. Check those components before assuming the motor is the culprit.
Gathering What You Need Before You Start
A little preparation goes a long way here. Trying to source parts mid-repair while your boat is sitting in the water is frustrating and avoidable.
You will need a few things before you begin:
- Your motor's brand, model number, and horsepower rating (usually on a label affixed to the motor casing)
- A matching replacement motor - check with the lift manufacturer or a marine parts supplier
- Basic hand tools: wrenches, screwdrivers, and pliers
- A voltage tester or multimeter
- Waterproof wire connectors rated for marine use
- Safety gloves and eye protection
Write down everything on the existing motor's label before you remove it. That information is what you will use to find an exact replacement, and once the old motor is off, that label may no longer be readable.
Step-by-Step: How to Replace a Boat Lift Motor
Step 1: Cut the Power
This is non-negotiable. Boat lift motors run on 110V or 220V electricity, and working around live wires near water is genuinely dangerous.
Go to your breaker panel and turn off the circuit that feeds the boat lift. Use a voltage tester at the motor's wiring connection to confirm the power is actually off before you touch anything electrical.
Step 2: Lower the Lift Fully
If the lift is in a raised position, you need to lower it before removing the motor. Depending on how far along the failure is, you may be able to lower it manually.
Most boat lifts have a manual override - a hand crank or clutch release that lets you lower the cradle without power. Check your lift's documentation or look for a manual release on the gearbox housing. Lower the cradle completely to take tension off the cables and drum.
Step 3: Photograph Everything Before You Touch It
Pull out your phone and take clear photos of the wiring configuration, the motor mounting position, and how the motor connects to the gearbox. These photos will be your reference when installing the new motor.
This step sounds obvious, but a lot of people skip it and then spend an hour trying to remember which wire went where. Do not skip it.
Step 4: Disconnect the Wiring
The motor will have a wiring harness or direct wire connections running to it. Carefully disconnect these connections, taking note of which wire connects to which terminal.
Marine-grade wire connectors often have heat shrink sleeves over them. You may need to cut these off, which means you will need fresh waterproof connectors for the reinstallation.
Step 5: Unmount the Old Motor
The motor is typically bolted to a mounting plate or bracket that connects it to the gearbox. Remove the mounting bolts and slide the motor away from the gearbox coupling or drive shaft.
Some motors connect via a direct shaft coupling; others use a belt or chain drive. Either way, the process is similar - disconnect the drive mechanism, then remove the mounting hardware.
Keep all bolts and hardware in a small container so nothing rolls off the dock and into the water.
Step 6: Compare Old and New Motors Before Installing
Set the new motor next to the old one and confirm everything lines up: shaft size, mounting bolt pattern, rotation direction, and horsepower. Most manufacturers label the rotation direction as CW (clockwise) or CCW (counterclockwise) on the motor casing.
If anything does not match, do not force it. Contact the parts supplier before proceeding.
Step 7: Mount the New Motor
Slide the new motor into position and align it with the gearbox coupling or drive mechanism. Thread the mounting bolts in by hand first, then tighten them evenly in a cross pattern to avoid warping the mounting plate.
Reconnect the drive shaft coupling or belt, making sure there is no misalignment. A motor that is slightly off-center will wear out prematurely and can damage the gearbox.
Step 8: Reconnect the Wiring
Refer back to your photos from Step 3. Connect each wire to its correct terminal using new marine-grade waterproof connectors.
Do not use standard electrical connectors here. The waterfront environment in Collier County is harsh on electrical connections, and standard connectors will corrode quickly. Adhesive-lined heat shrink connectors are the right tool for this job.
Step 9: Restore Power and Test
Before restoring power, do a quick visual check. Make sure all wiring connections are secure, the motor is fully bolted down, and nothing is loose or hanging near moving parts.
Go back to the breaker panel and restore power to the lift circuit. Test the lift by running it up a few inches, then back down. Listen for unusual sounds and watch for smooth, even movement. If everything operates normally, run it through a full cycle to confirm the repair is complete.
Common Mistakes to Avoid
Even experienced DIYers make avoidable mistakes during boat lift motor replacement. A few of the most common ones are worth calling out specifically.
- Using the wrong motor: Always match the horsepower, voltage, and shaft specs exactly. A motor that is close but not identical can overload the gearbox or fail early.
- Skipping the manual override step: Trying to remove a motor while cables are under tension is dangerous and can cause the cradle to drop suddenly.
- Using non-marine wiring materials: Standard electrical tape and connectors will not hold up in a saltwater environment. Always use products rated for marine use.
- Ignoring the rotation direction: Installing a motor that spins the wrong way will drive the cradle down when you want it to go up, and vice versa. Some motors are reversible; others are not. Confirm before you wire it.
When Should You Call a Professional?
This repair is genuinely manageable for someone who is comfortable with basic mechanical and electrical work. But there are situations where calling in a professional is the smarter move.
If your lift is older and has signs of significant corrosion on the gearbox, cables, or drum - not just the motor - a full inspection might be warranted before you invest in a new motor. Replacing the motor on a lift with failing cables or a cracked gearbox housing is just delaying a bigger problem.
Similarly, if you are not confident working around electricity, especially near water, it is worth getting help. The safety risk is real and the savings are not worth it if something goes wrong.
For waterfront homeowners in Collier County who are unsure whether their lift issues are isolated to the motor or part of a broader dock or structural concern, it is worth having an experienced eye take a look at the full setup.
Maintaining Your New Motor to Make It Last
The salty, humid environment along Collier County's waterways is hard on equipment. Once your new motor is installed, a little routine maintenance will extend its life significantly.
Rinse the motor housing with fresh water after heavy saltwater exposure. Inspect the wiring connections every six months for signs of corrosion or loosening. Keep the motor's ventilation slots clear of debris, and apply a corrosion-inhibiting spray to any exposed metal surfaces on a regular schedule.
A motor that is cleaned and checked periodically will outlast one that is ignored by several years.
Frequently Asked Questions About Boat Lift Motor Replacement
How long does a boat lift motor typically last?
In a saltwater environment like Collier County, most boat lift motors last between 5 and 15 years depending on usage frequency, maintenance, and the quality of the original motor. Regular rinsing and inspection can push that closer to the upper end of that range.
Can I upgrade to a higher horsepower motor?
Not without checking with the lift manufacturer first. The gearbox and cable system are designed around a specific motor rating. Installing a higher horsepower motor without confirming compatibility can overload and damage the gearbox.
What is the cost of a replacement boat lift motor?
Replacement motors typically range from around $150 to $600 or more depending on the brand, horsepower, and voltage. Buying directly from the lift manufacturer or a reputable marine parts supplier is the safest approach to ensure compatibility.
Do I need a permit to replace a boat lift motor in Collier County?
Motor replacement is generally considered a maintenance repair rather than new construction, so permits are typically not required. However, if you are making changes to the lift structure itself or the electrical service, it is worth confirming with Collier County's building department before proceeding.
My motor is working, but the lift is still slow. What could be wrong?
Slow operation despite a functioning motor usually points to a cable tension issue, worn sheaves, or a gearbox problem. Check cable condition and tension first. If cables look worn or frayed, they should be replaced before the next use.
Finish Your Boat Lift Motor Replacement Safely
Replacing a boat lift motor yourself is a realistic project for a handy homeowner, and it can save you a meaningful amount compared to a shop repair. Take it one step at a time, use the right materials, and do not rush the wiring connections.
If your inspection turns up concerns beyond the motor - corroded cables, damaged dock hardware, or structural questions about your lift's mounting -
Kalvin and Calvin Marine Construction is here to help.
Reach out to explore our
dock building services for expert guidance on keeping your waterfront setup in top shape. You can also call us at (239) 280-6054 to speak with someone directly.